
- Licensed & Insured
- Free Estimate
Roof Flashing Repair Services
Water stains near a chimney, wall, skylight, vent, or roof valley can point to damaged flashing rather than failure across the entire roof. Roof flashing repair restores water protection at locations where roofing materials meet walls, penetrations, valleys, and other transitions. Roofing Relief Pros identifies the source of the leak, evaluates surrounding roofing materials, and repairs flashing components that no longer direct water correctly.
- Free estimate
- Leak source identified before repair
- Step, chimney, valley & vent flashing
- Licensed & insured crews
Get a Free Roof Flashing Repair Estimate
Fast response. No spam. No obligation.
What Is Roof Flashing Repair?
Roof flashing repair corrects damaged or incorrectly performing materials at roof transitions and penetrations. A continuous roof surface can shed water toward the eaves, but chimneys, walls, vents, skylights, and valleys interrupt that surface and require additional water management. Flashing directs water away from these vulnerable locations and back onto the roof covering, and different roof details require different flashing configurations.
A proper repair addresses the complete transition. Adding sealant over visible gaps may provide temporary protection in some situations, but sealant alone cannot correct incorrectly installed metal, failed overlaps, damaged roofing materials, or deteriorated decking. The contractor should identify the actual water entry point before defining the repair.
When Does Roof Flashing Need Repair?
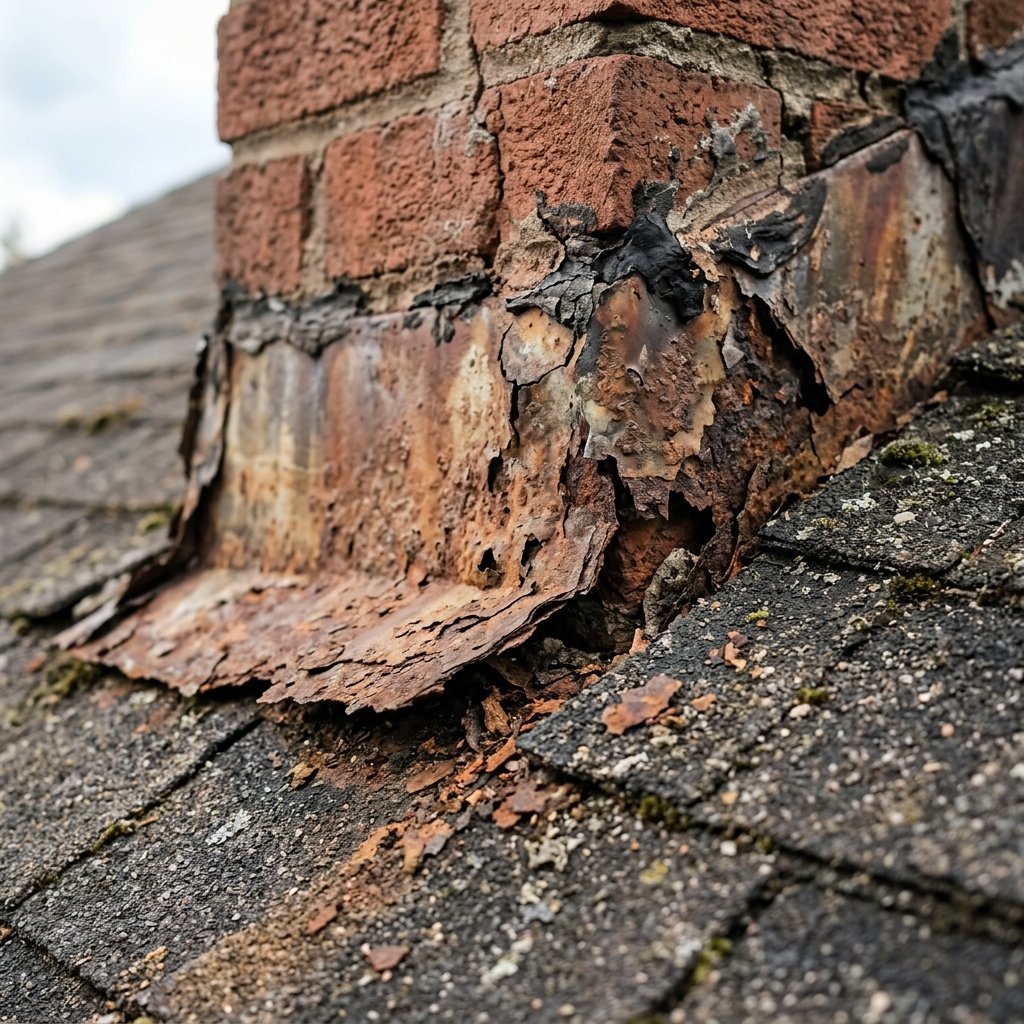
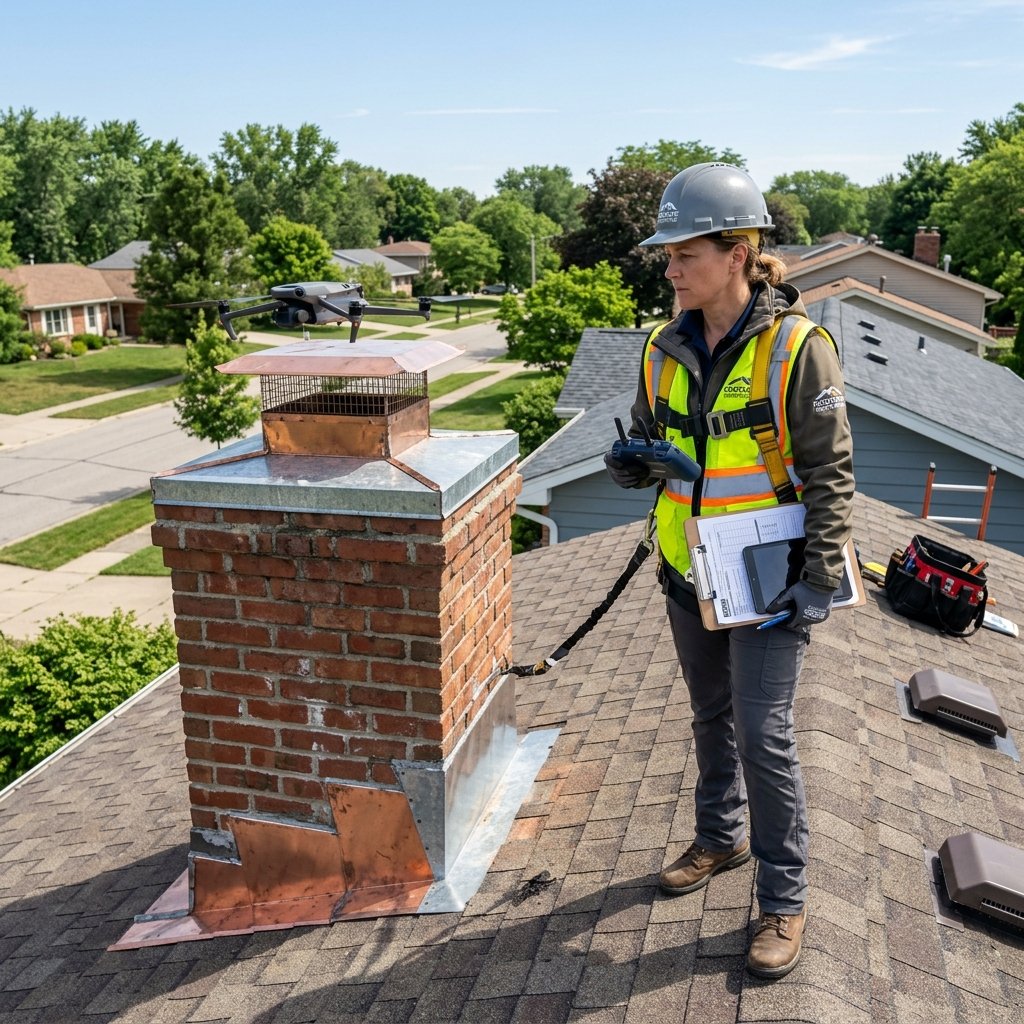
Visible flashing damage provides one reason to schedule an inspection, and water stains near a roof penetration or wall provide another. Common warning signs include loose metal, displaced flashing, corrosion, open joints, damaged sealant, missing flashing sections, and water staining around roof transitions. Interior symptoms can include ceiling stains, damp insulation, stained roof decking, and moisture around chimneys or plumbing penetrations. One damaged flashing location can often support targeted repair when surrounding roofing remains serviceable, while several failed flashing locations combined with deteriorated shingles, membrane damage, or widespread deck problems can require a broader roof assessment.
Common Flashing Repair Types
Step Flashing Repair
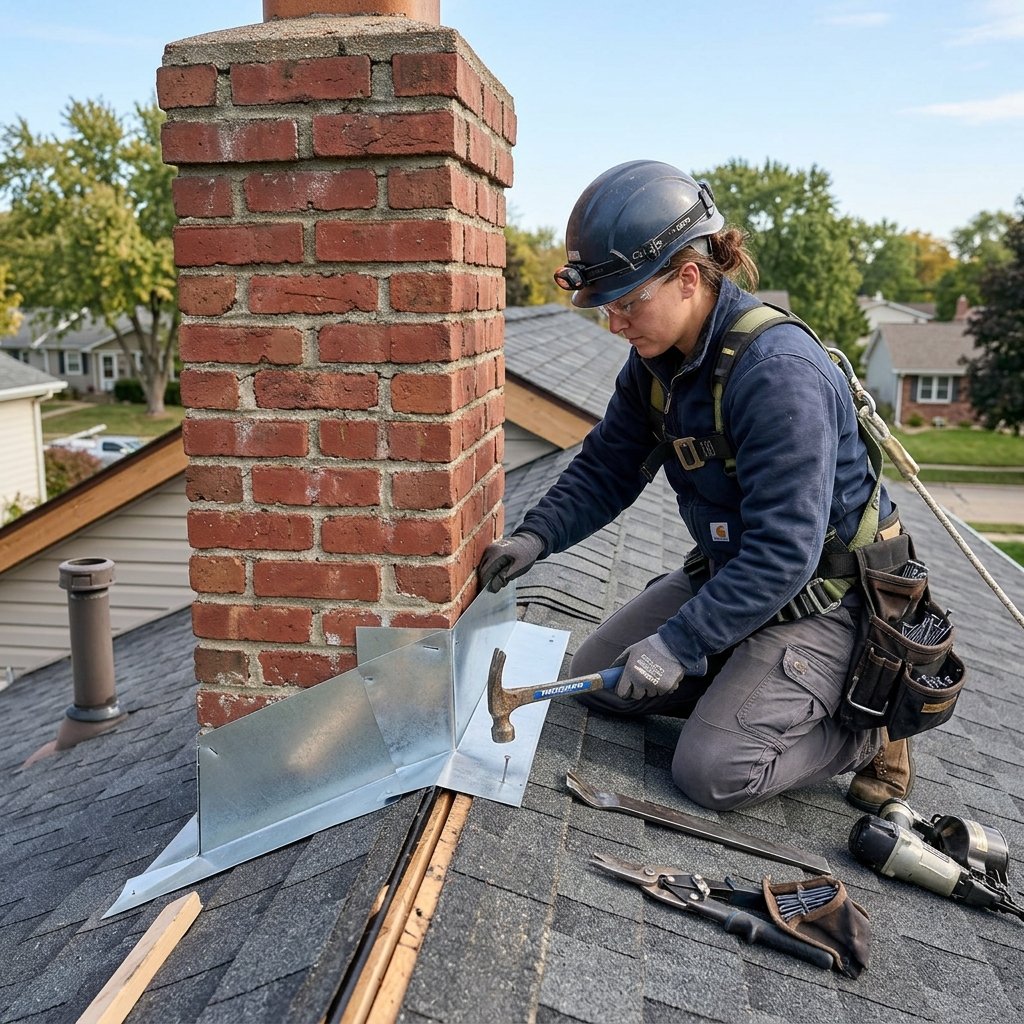
Protects intersections between a sloped roof and a vertical sidewall, with individual pieces integrating with successive shingle courses so water moves from the wall onto the roof covering. Repair can require removal of shingles near the wall, and is commonly addressed alongside shingle roof repair work.
Chimney Flashing Repair
Chimneys create four transition areas where roofing meets a vertical structure. Counterflashing protects the upper edges of base or step flashing, and NRCA recommends considering a cricket on the upslope side of chimneys measuring 24 inches or wider.
Counterflashing Repair
Covers and protects the upper edge of another flashing component at walls, chimneys, and similar vertical surfaces. Loose counterflashing, open joints, corrosion, and damaged masonry connections can compromise the transition.
Headwall Flashing Repair
Addresses the location where the upper edge of a sloped roof meets a vertical wall. Incorrect overlap can allow water to move behind shingles and reach the roof deck.
Valley Flashing Repair
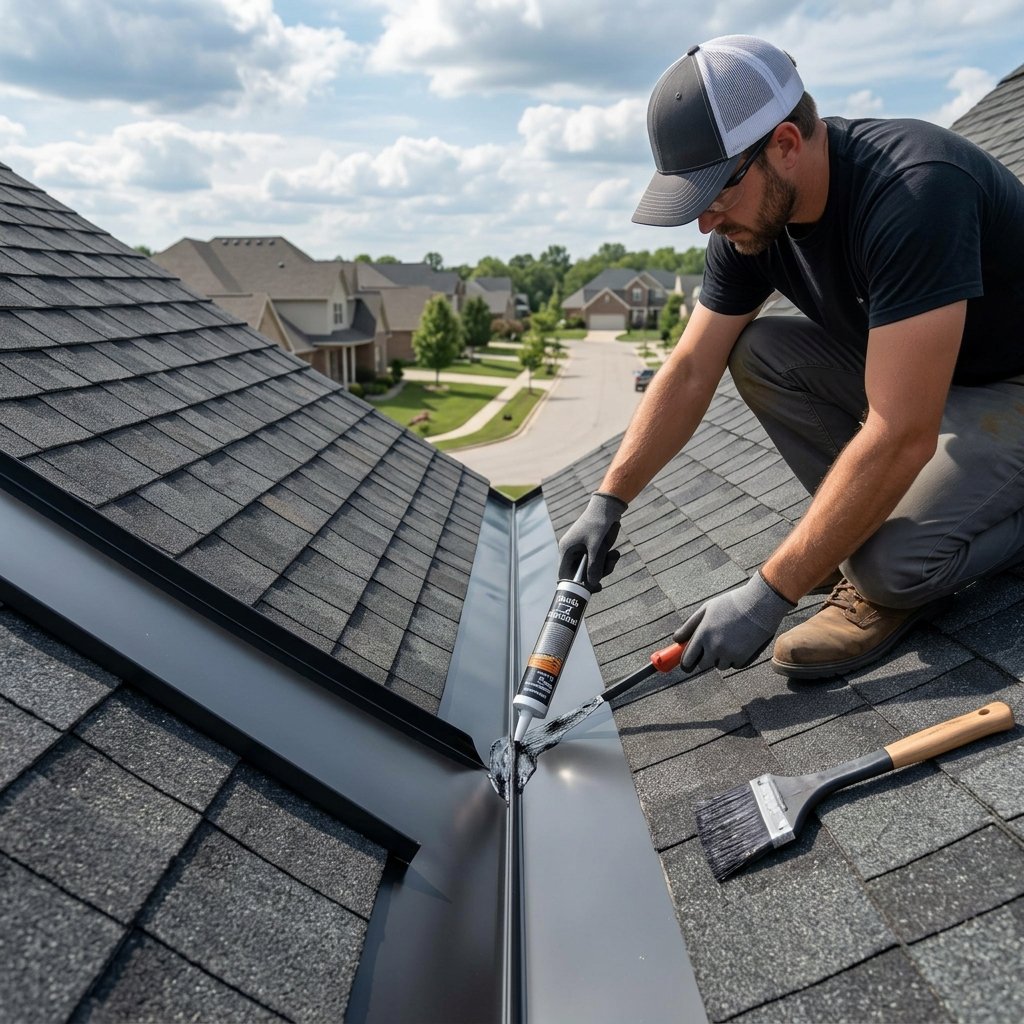
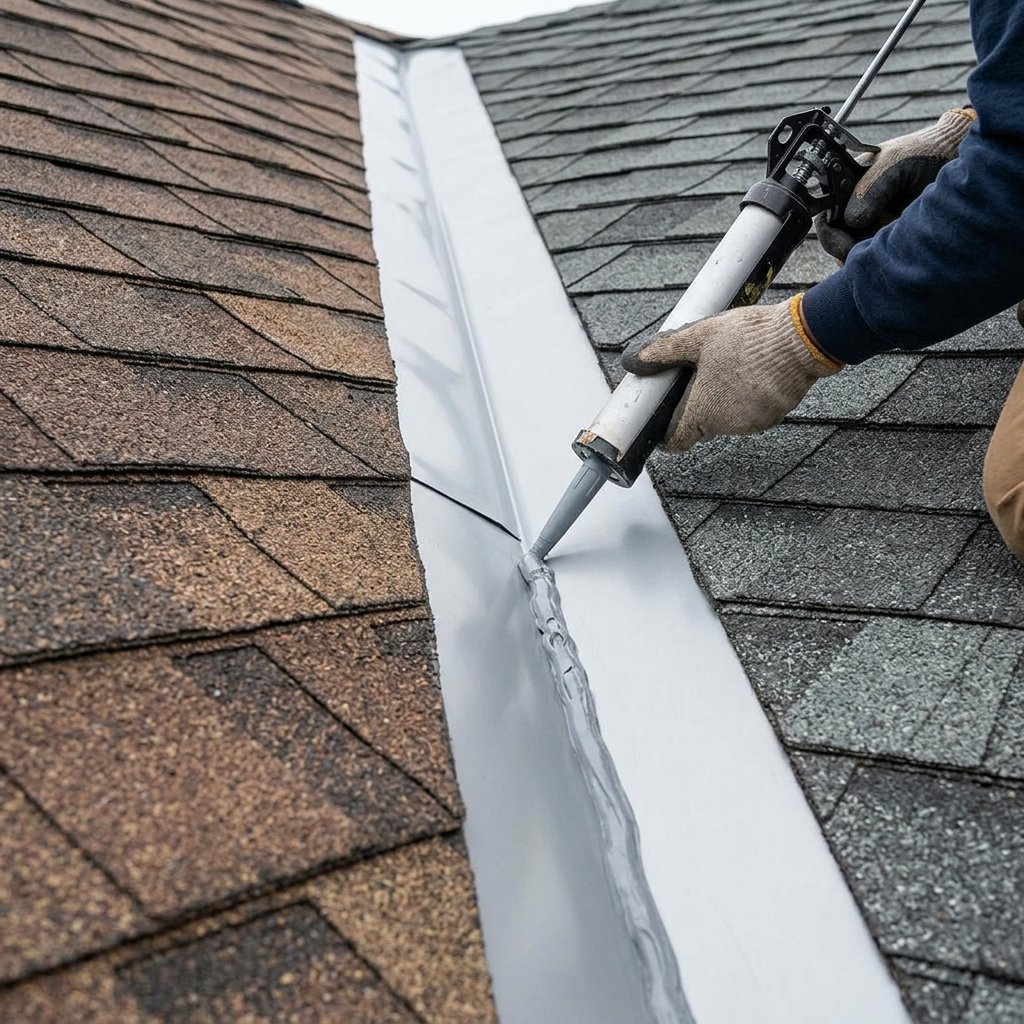
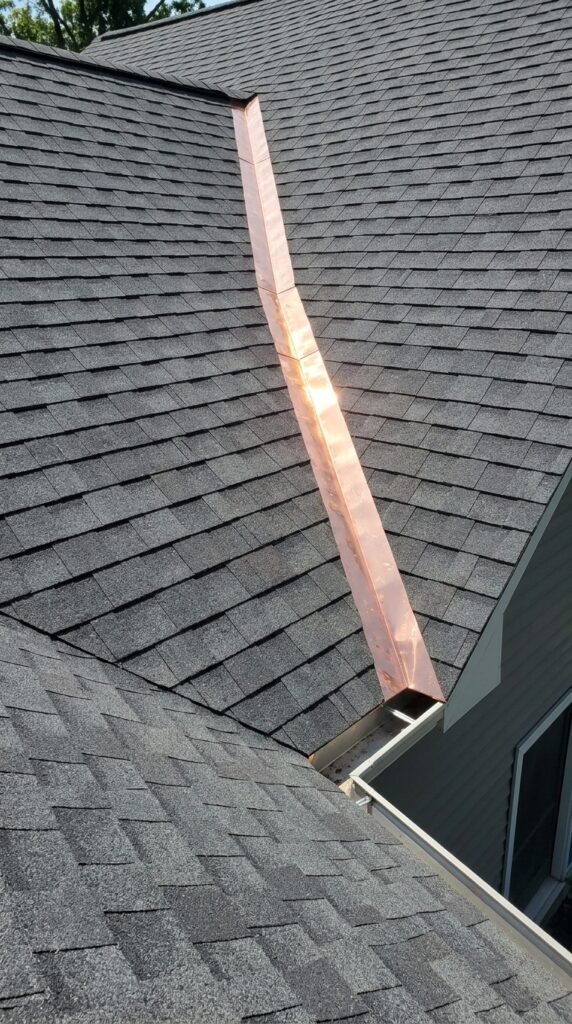
Roof valleys collect runoff from two adjoining roof planes, so correct construction matters. Corrosion, punctures, displacement, debris, and damaged adjoining shingles can contribute to valley leaks.
Pipe Flashing and Vent Boot Repair
A pipe boot commonly contains a flange beneath surrounding roofing materials and a sealing section around the pipe. Cracking or deterioration around the pipe opening can create a direct path for water.
Skylight Flashing Repair
Skylights create several water transitions within the roof surface. A leak near a skylight does not automatically mean the skylight unit has failed, since damaged flashing or surrounding shingles can create similar symptoms.
Drip Edge Repair
Drip edge protects roof perimeter locations along eaves and rakes. The metal helps direct runoff away from roof deck edges and adjoining fascia materials, and damaged or displaced drip edge can expose perimeter materials to water. NRCA asphalt shingle guidance recommends adjacent drip edge sections overlap by at least 2 inches and uses fastening around 12 inches on center, with closer attachment appropriate for certain higher wind conditions. Repair can require removal of perimeter shingles when existing materials prevent access to the damaged metal.
Flashing Repair on Metal Roofs
Metal roofs require flashing at walls, valleys, ridges, penetrations, curbs, and roof edges. Panel profiles affect flashing design because flashing must integrate with the raised seams or ribs of the selected metal roofing system, and thermal movement also matters since metal panels expand and contract as temperature changes. Standing seam roofing commonly uses concealed attachment components, while exposed fastener roofing uses fasteners through the visible panel surface. A contractor should use flashing compatible with the existing metal roofing profile; widespread panel or seam failure can point toward a metal roof replacement instead of a localized repair.
Flashing Repair on Flat Roofs
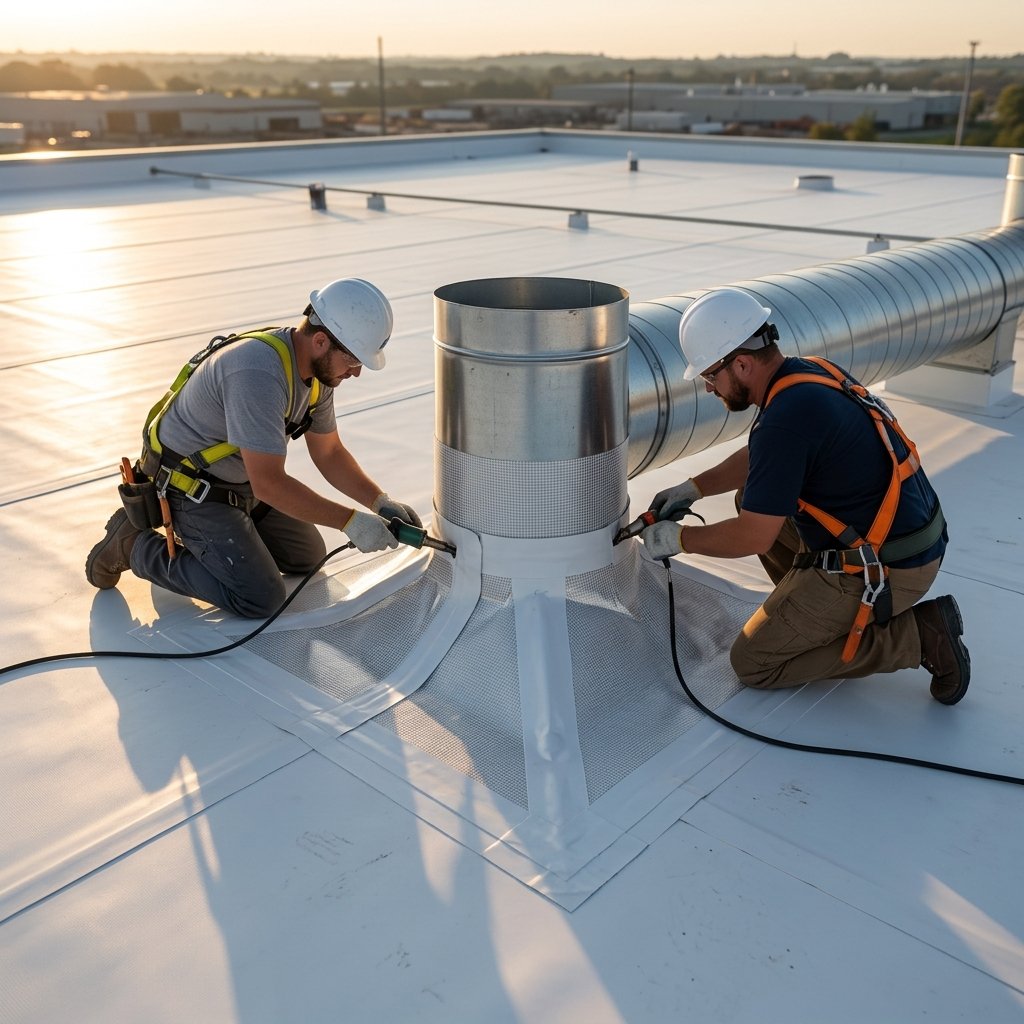
Flat and low slope roofs use membrane flashing around walls, drains, curbs, pipes, and other penetrations. TPO and PVC roofing commonly use compatible thermoplastic materials with heat welded seams, EPDM uses manufacturer specified flashing and seam materials, and modified bitumen systems require compatible asphalt based details. Water can collect around curbs or penetrations when drainage conditions create low areas. The contractor should evaluate both the flashing and surrounding drainage when recurring water entry develops around a flat roof penetration; widespread membrane failure can point toward a flat roof replacement instead.
Flashing Corrosion and Material Compatibility
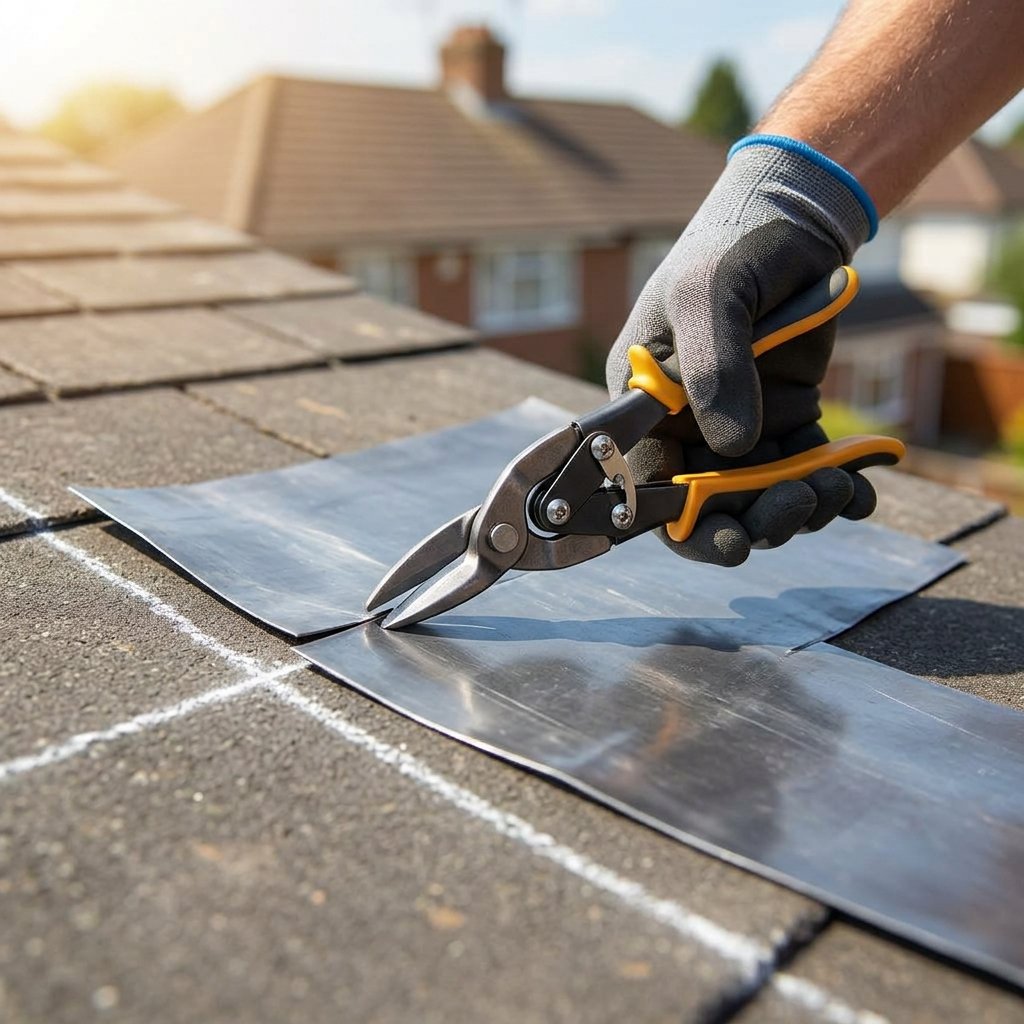
Metal flashing can deteriorate through corrosion, physical damage, or incompatible material combinations. Different metals can react when direct contact and moisture create conditions for galvanic corrosion, so the selected repair materials should remain compatible with surrounding roof components. Protective coatings can also become damaged during cutting, fastening, or previous repair work. A contractor should determine whether corrosion affects one isolated section or extends along a larger flashing run; localized corrosion can support partial replacement, while extensive deterioration can require replacement of the complete flashing section.
Why Roof Sealant Alone May Not Stop a Flashing Leak
Sealant can serve specific purposes within roofing details, but surface sealant should not replace correctly installed flashing. A bead of sealant over an open joint can deteriorate while the underlying flashing remains incorrectly positioned, and sealant can also hide corrosion, open laps, or damaged materials without correcting the water path. The contractor should inspect metal placement, surrounding roofing, fasteners, joints, and substrate before deciding where compatible sealant belongs within the repair. Correcting the physical flashing detail provides a more complete repair than repeatedly covering the same leak with additional material.
Roof Deck Damage Around Failed Flashing
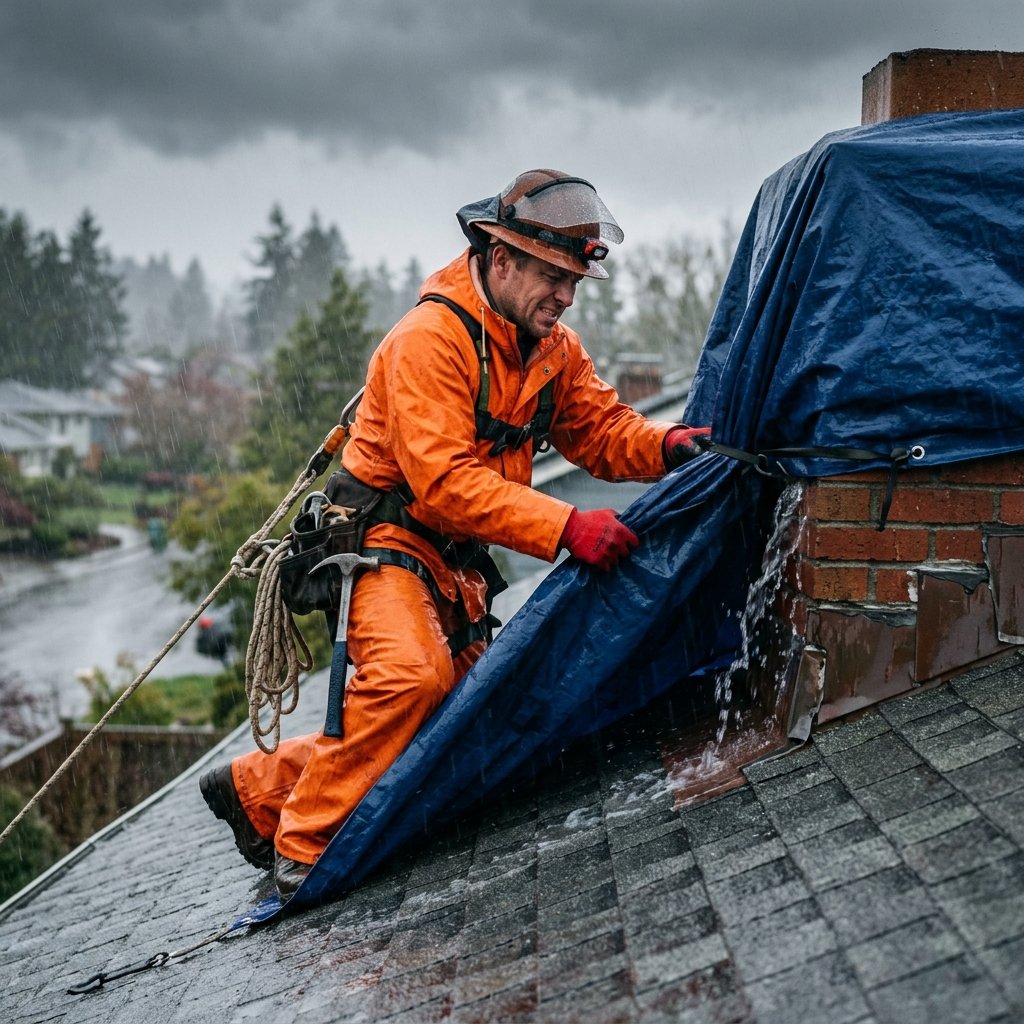
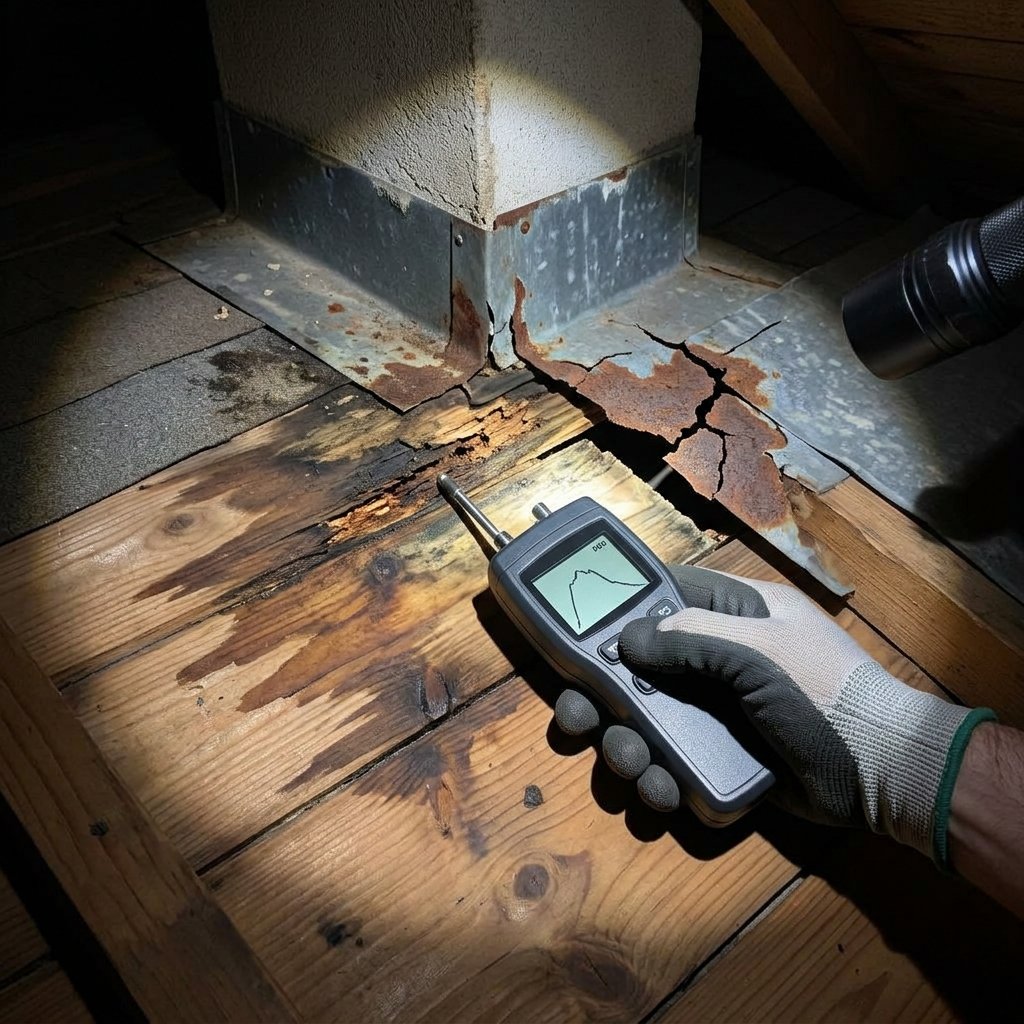
A flashing leak can allow moisture to reach the roof deck before an interior ceiling stain appears. Plywood and oriented strand board can develop rot, delamination, soft areas, or damaged fastening surfaces after continued moisture exposure. The roofing crew should inspect accessible decking when removing shingles or membrane around a leaking transition. One small damaged section can receive localized replacement as part of the flashing repair, while deterioration extending beyond the transition can increase the project scope. New flashing should not cover unsuitable decking.
Roof Flashing Repair Process
Leak and Roof Inspection
The contractor examines interior moisture evidence and exterior roof conditions around the suspected transition.
Flashing Assessment
The contractor checks flashing position, overlaps, corrosion, fasteners, joints, surrounding roofing, and visible seal components.
Roofing Material Removal
The crew removes shingles, panels, membrane, or other materials required to access the defective flashing.
Deck and Underlayment Inspection
The crew examines exposed substrate and secondary water protection for moisture damage.
Damaged Material Removal
The crew removes deteriorated flashing and unsuitable surrounding components.
New Flashing Installation
The crew installs compatible flashing according to the roof covering and transition type.
Roofing Material Restoration
The crew reinstalls or replaces surrounding roofing materials so water can drain correctly over the repaired area.
Final Inspection
The contractor checks the completed transition, adjoining roof surface, penetrations, and cleanup area.
Real World Roof Flashing Repair Example
Consider a 2,100 square foot two story home in Washington with architectural asphalt shingles and a masonry chimney. The homeowner notices a ceiling stain after wind driven rain, and inspection identifies moisture staining on roof decking near the downslope side of the chimney. Exterior inspection finds displaced step flashing along one chimney side and deteriorated counterflashing at the masonry joint.
The roofing crew removes shingles around the affected chimney side and finds one moisture damaged OSB panel. The crew replaces the damaged deck section, restores the underlayment, installs new step flashing, corrects the counterflashing detail, and installs compatible architectural shingles. The surrounding roof remains serviceable, so targeted flashing repair addresses the leak without complete roof replacement.
What Affects a Roof Flashing Repair Project?
Flashing location affects repair complexity, and a plumbing vent on an open roof plane usually requires a different scope from a chimney containing four transition sides.
- Roofing material: asphalt shingles, standing seam metal, TPO, PVC, and EPDM require different flashing integration
- Access: tall chimneys, steep roof slopes, skylights, parapets, and multi level roof sections can increase the work required
- Deck damage, underlayment condition, and wall materials
- Replacement shingle availability, corrosion, existing flashing design, and weather
Flashing Repair Versus Roof Replacement
Flashing Repair
Localized flashing failure does not automatically require complete roof replacement. One failed pipe boot, chimney flashing defect, skylight transition, or damaged valley section can support repair when surrounding roofing and decking remain serviceable.
Roof Replacement
Replacement becomes more relevant when flashing problems occur alongside widespread shingle deterioration, multiple roof leaks, extensive deck damage, or roofing material failure across several roof planes. See shingle roof replacement for widespread asphalt shingle deterioration.
The contractor should separate localized transition failure from complete roof deterioration before recommending replacement. Homeowners with broader damage can review full roof replacement before making the next decision.
Frequently Asked Questions About Roof Flashing Repair
Can roof flashing be repaired without replacing the roof?
Yes. Localized flashing damage can often receive targeted repair when surrounding roofing, underlayment, and decking remain serviceable. The contractor may remove nearby roofing materials to access and rebuild the flashing correctly.
What are the signs of damaged roof flashing?
Common signs include loose metal, corrosion, open joints, damaged vent boots, displaced flashing, and water staining near chimneys, walls, skylights, valleys, or penetrations. An inspection should confirm the actual water entry point.
Can chimney flashing cause a roof leak?
Yes. Damaged step flashing, base flashing, or counterflashing can allow water into the chimney transition. Chimneys measuring 24 inches or wider across the upslope side can also require additional water diversion considerations such as a cricket.
Can roof flashing be sealed instead of replaced?
Compatible sealant can serve specific flashing details, but sealant cannot correct severely corroded metal, incorrect overlaps, displaced flashing, or damaged substrate. The contractor should repair the underlying flashing defect.
How do roofers find a flashing leak?
Roofers compare interior moisture evidence with exterior flashing, roofing materials, penetrations, and drainage paths. Water can travel along decking before reaching the interior, so the visible ceiling stain may not sit directly below the leak.
Does damaged pipe flashing require shingle removal?
Shingle removal is often necessary to access a pipe flashing flange and integrate replacement flashing with surrounding courses. The exact repair area depends on the existing roofing configuration and damage.
When does a flashing problem require roof replacement?
A flashing defect alone usually supports localized repair when surrounding roofing remains serviceable. Replacement becomes more relevant when flashing failures occur with widespread roof covering deterioration, recurring leaks, or extensive deck damage.
Schedule Roof Flashing Repair With Roofing Relief Pros
Damaged chimney flashing, loose step flashing, deteriorated vent boots, valley defects, and failed wall transitions can allow water beneath otherwise serviceable roofing materials. Roofing Relief Pros helps homeowners identify flashing leaks and repair the affected roof transition before moisture spreads into additional roofing and interior components.
- Free estimate
- Leak source identified before repair
- Compatible flashing components
- Licensed & insured crews
Get a Free Roof Flashing Repair Estimate
Fast response. No spam. No obligation.